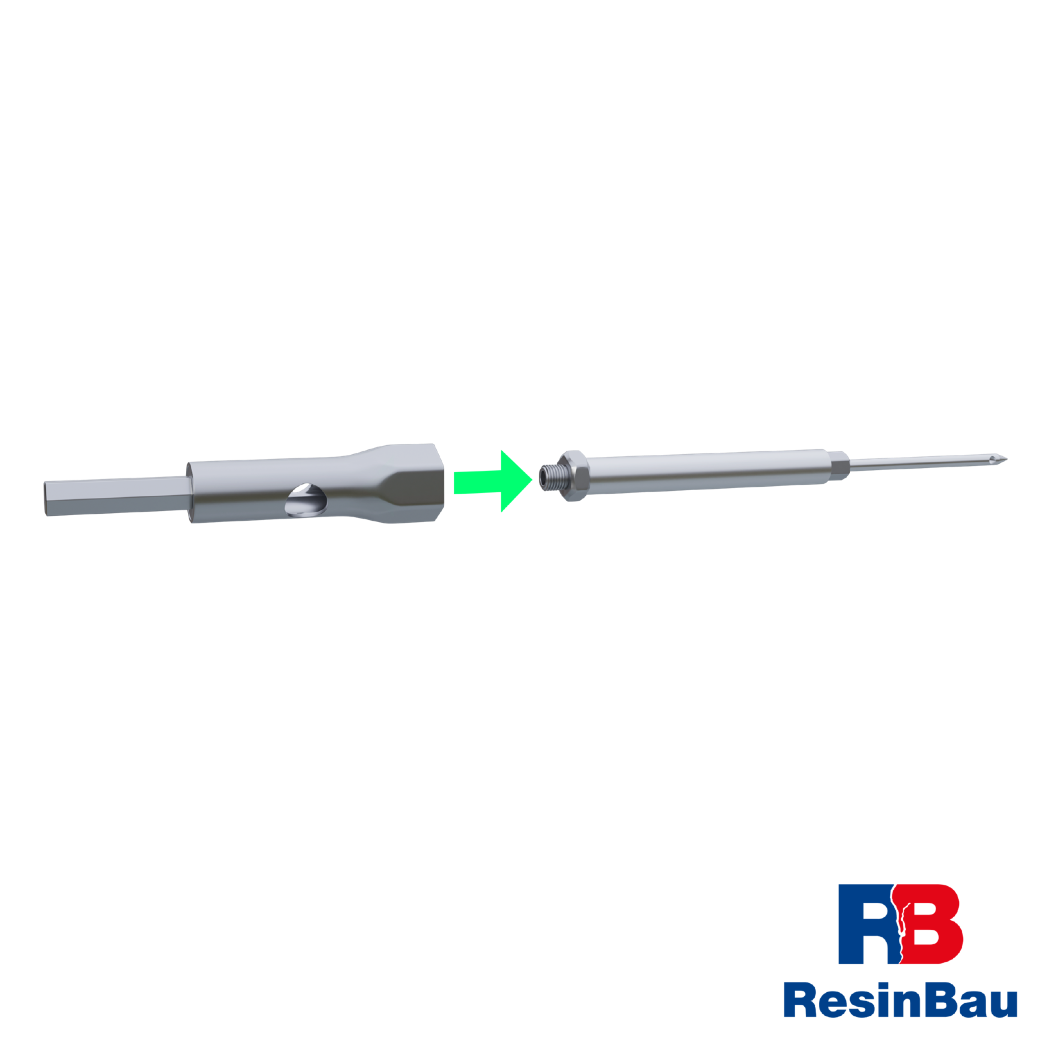
Stainless steel needle, steel tube.
These are two different components. The stainless steel needle stays inside; the tube is used to install it and deliver material.
 B2B platform
 From a needle that stays inside the structure to accessories developed for a single project. Explore their design, installation and customisation options.
The needle carries material to the sealing zone and remains permanently inside the structure after injection. The tube helps install it and connect it to the injection system. Each part has its own function.
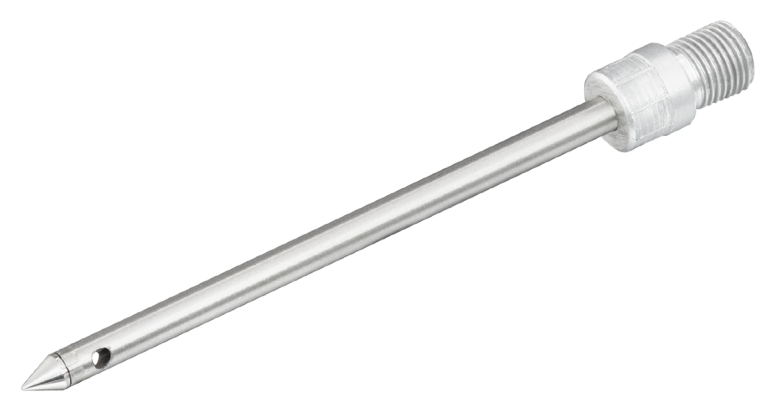


Needle → M10×1 connection → tube → G1/4″ connection. Swipe the drawing sideways on a small screen.
Choose a step to follow needle installation and injection.
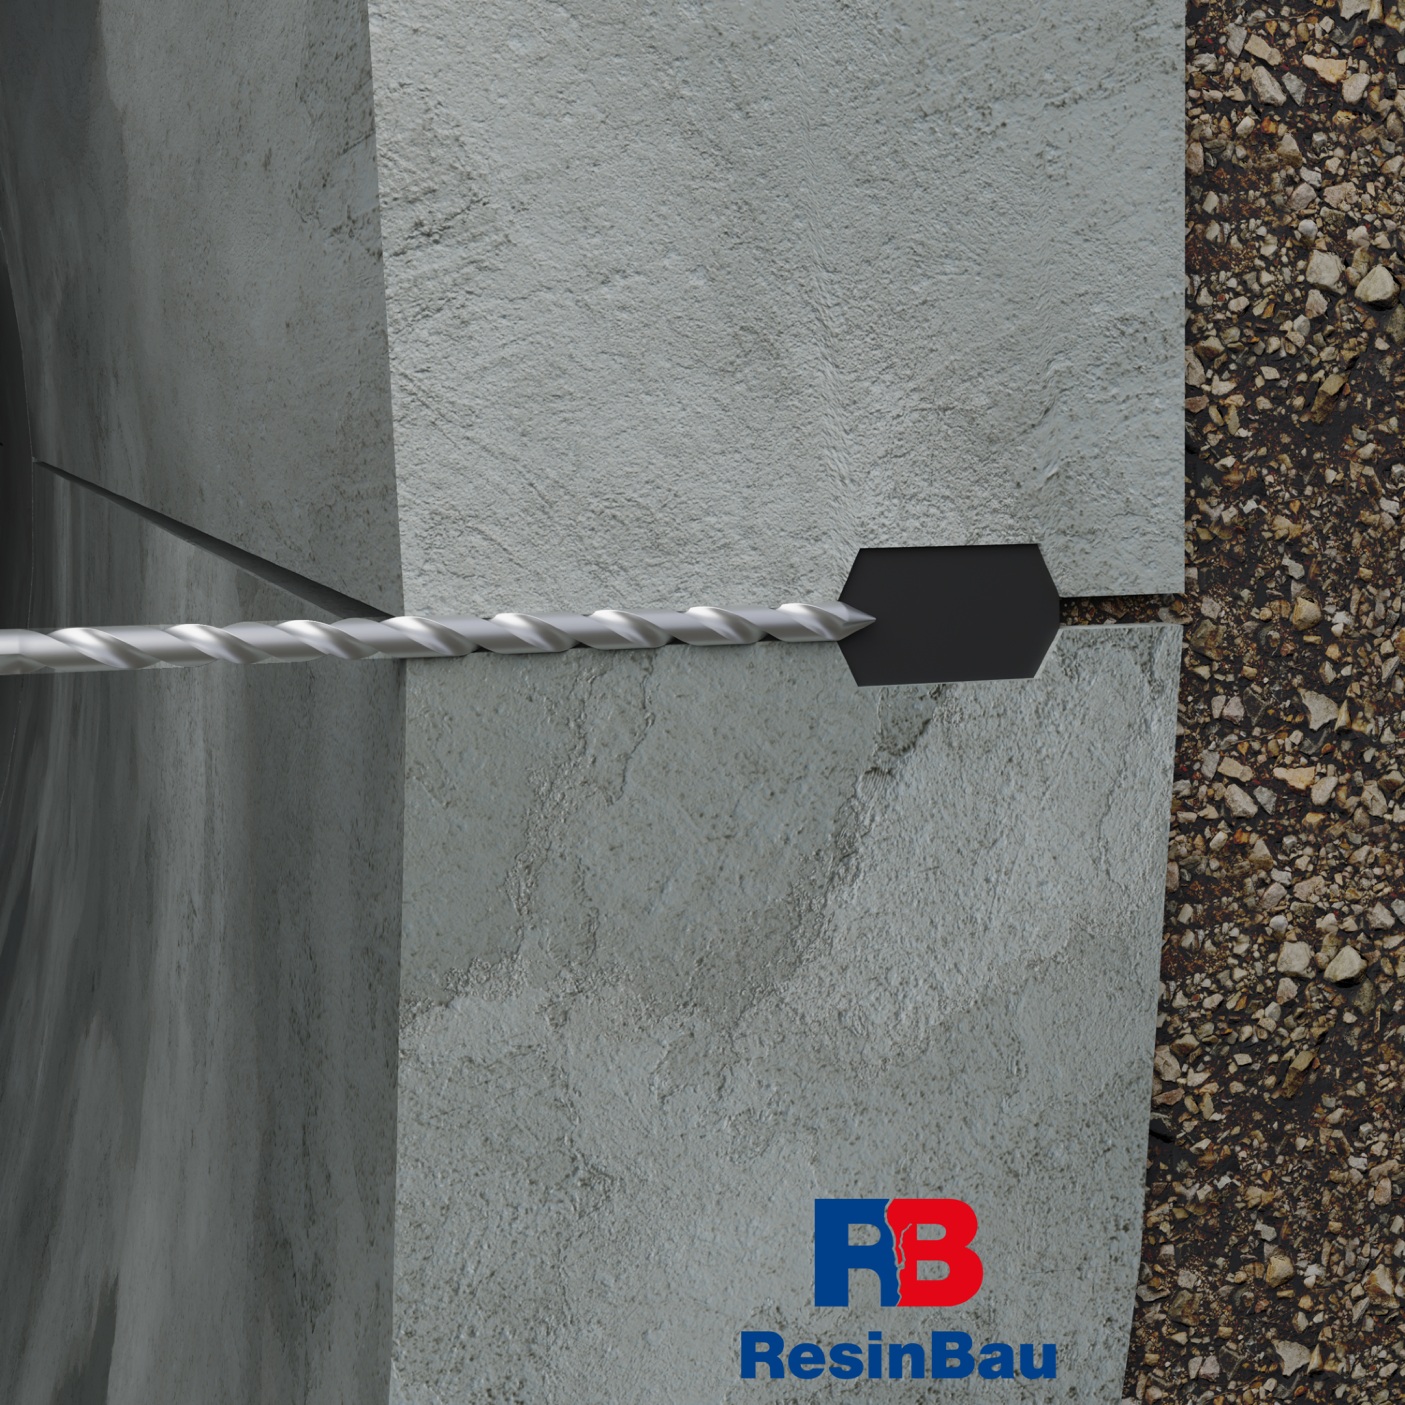
Drill a borehole reaching the zone where the sealing material needs to be delivered.
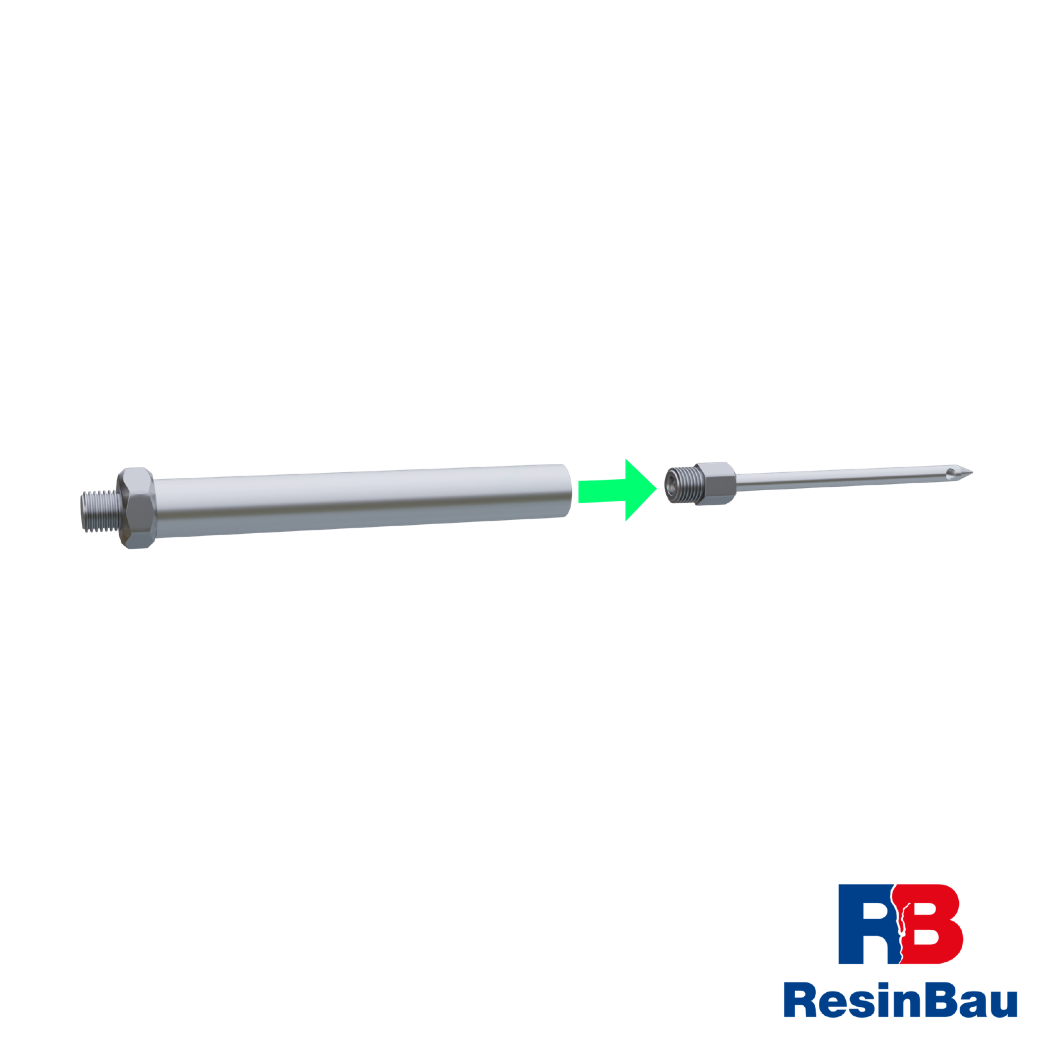
Assemble the injection needle with the matching injection tube. The tube works with the needle valve.
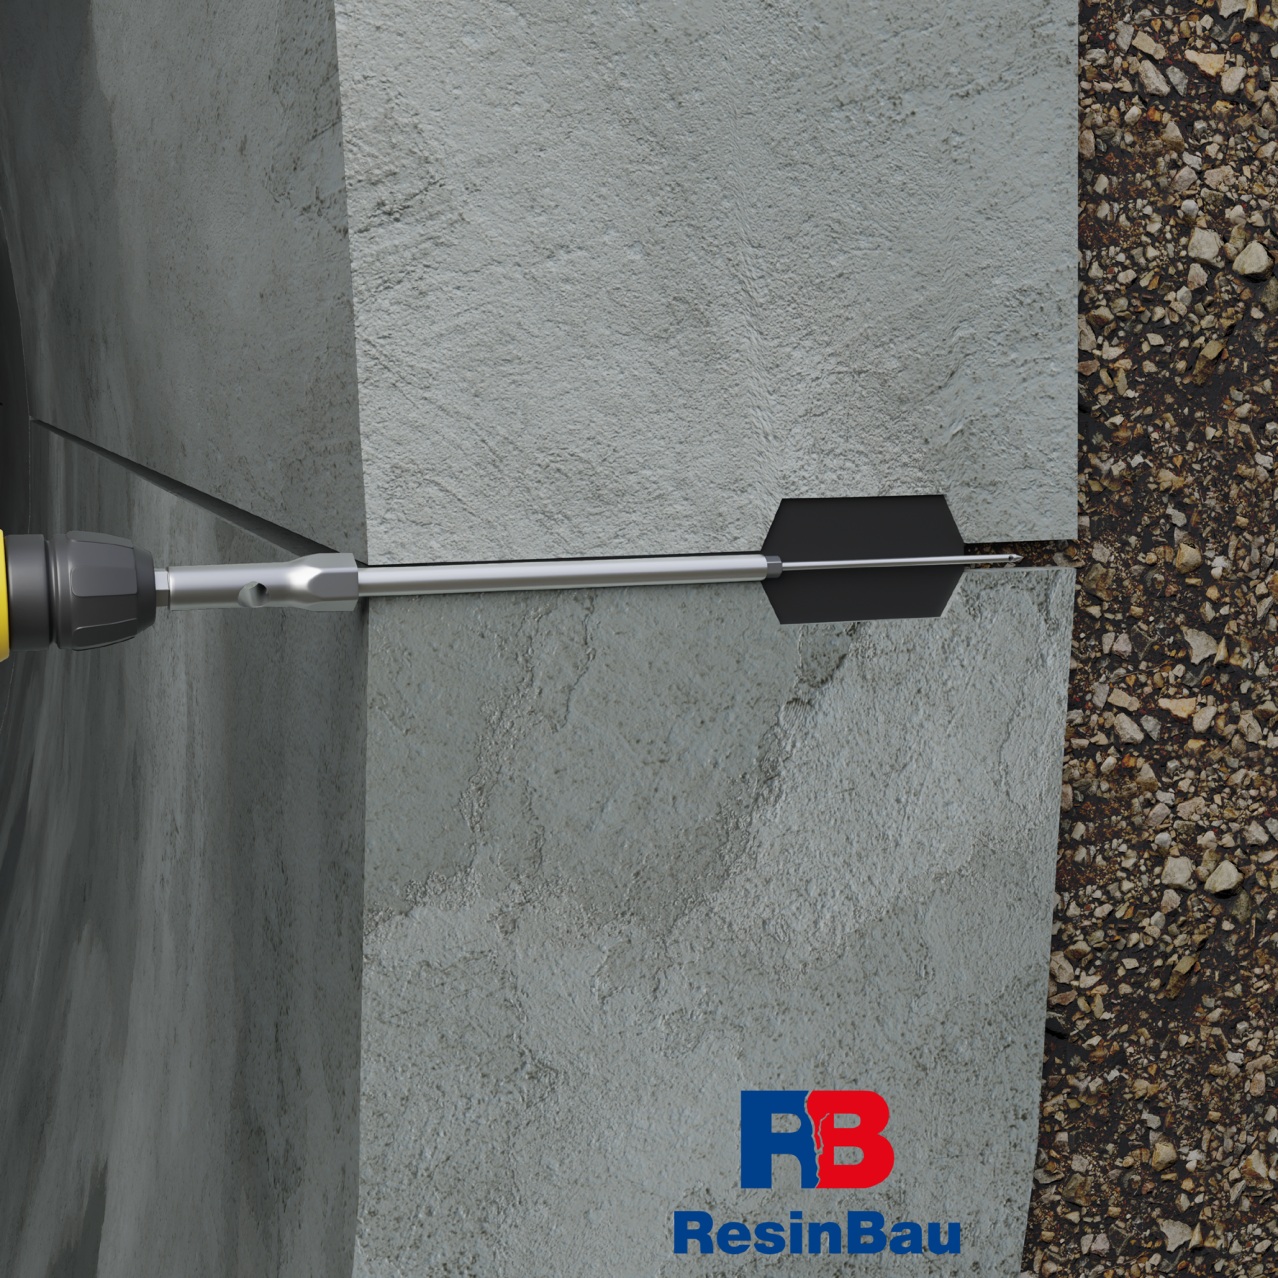
Place the needle in the borehole. Screw it in using a suitable socket and cordless driver.
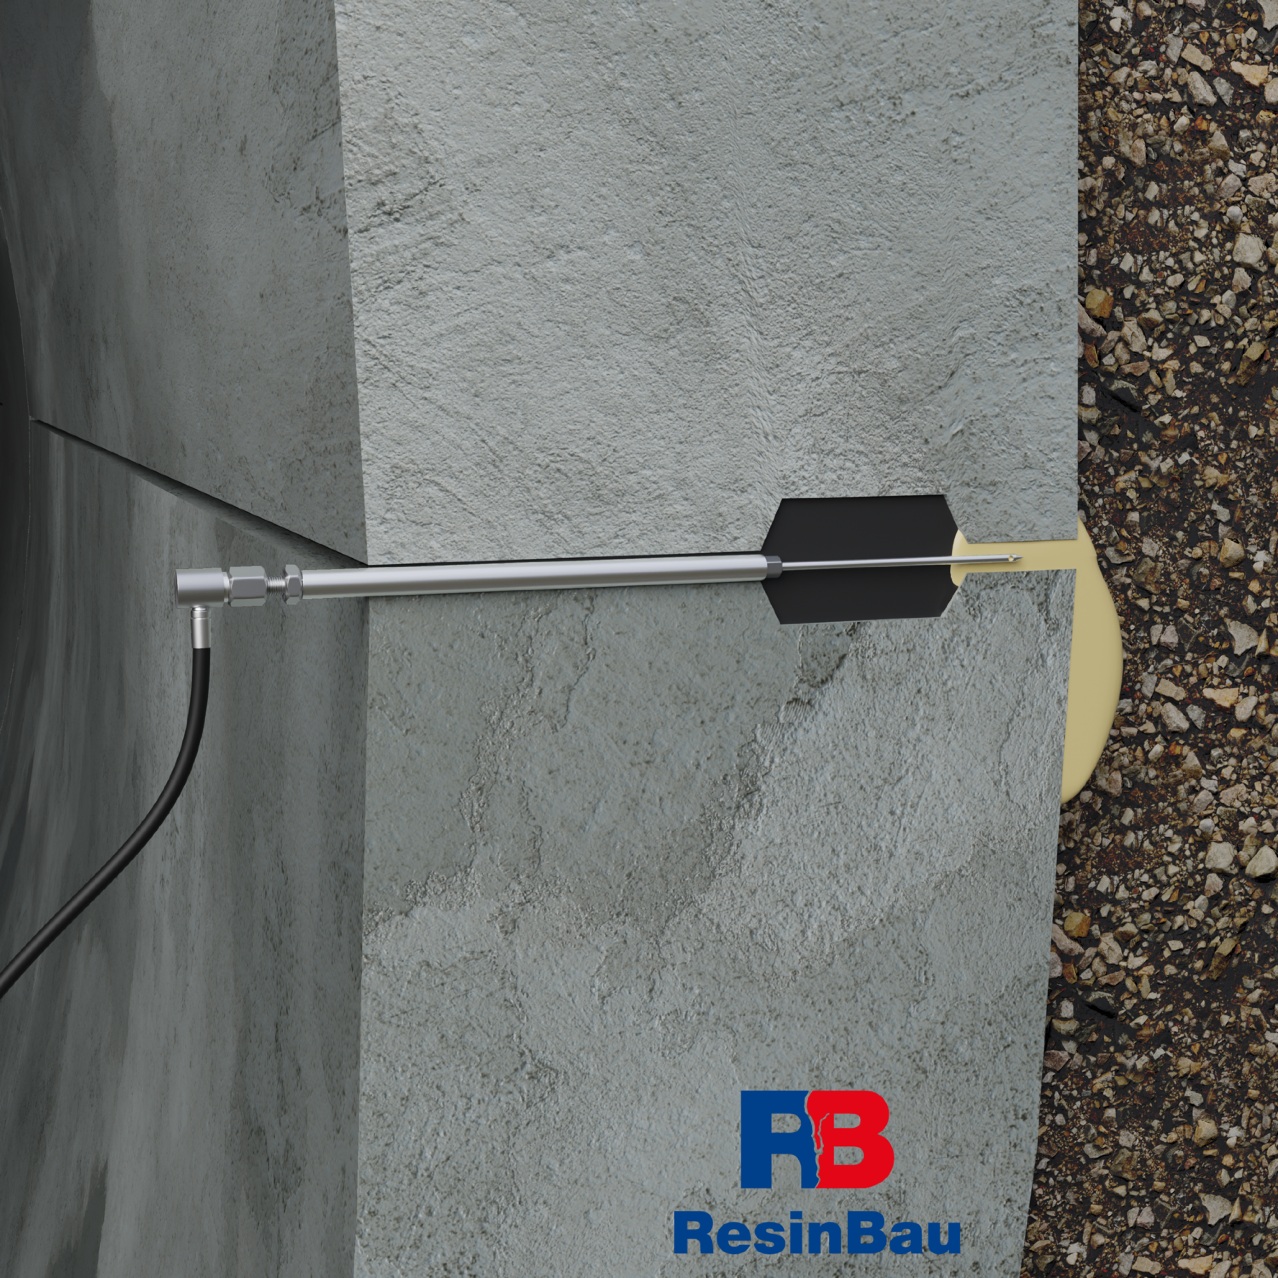
Start injection with the chosen sealing material.
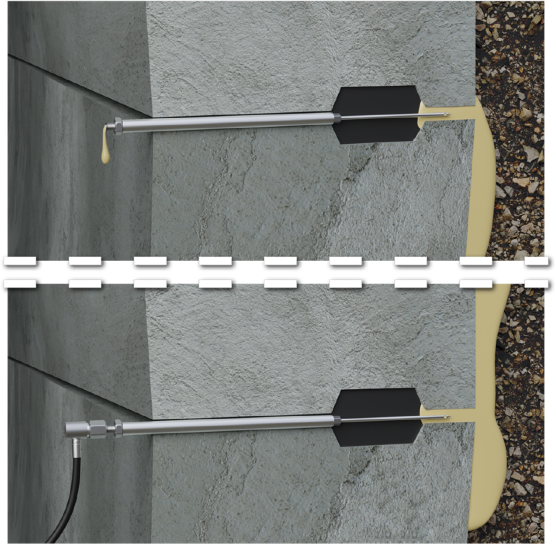
Continue injection until material begins to emerge from the next installed needle.
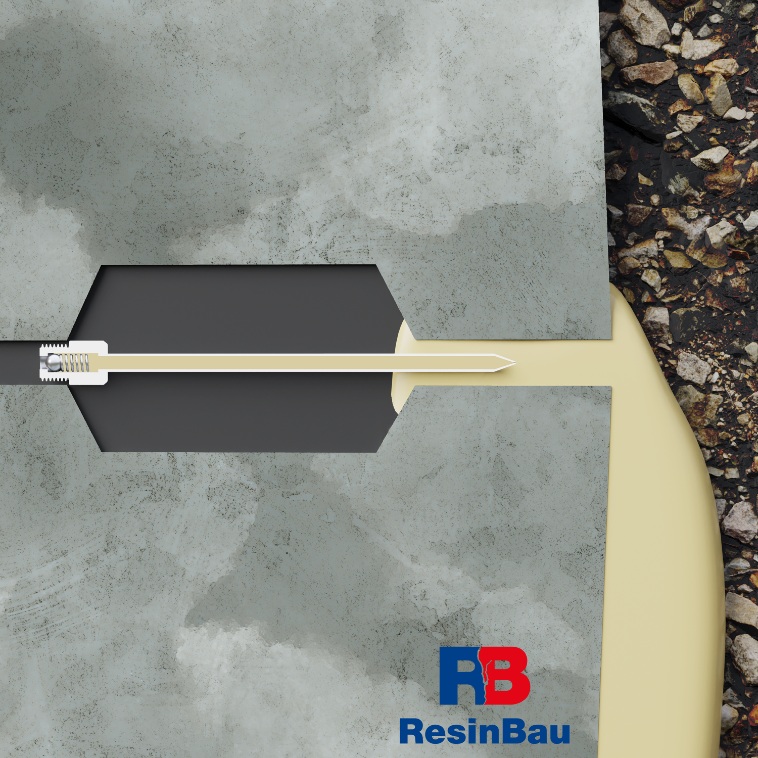
After injection, the stainless steel needle remains permanently inside the structure.
The needle is the part that stays inside the element, which is why it is made from stainless steel.
These are two different components. The stainless steel needle stays inside; the tube is used to install it and deliver material.
Ø2,8 mm holes carry material to the sealing zone. The needle's position in the structure determines the delivery location.
The M10×1 connection joins the needle to the tube. The tube's other end has a G1/4″ male thread for connecting the system.
Extend the reach of an existing packer using the Packer Connector system.
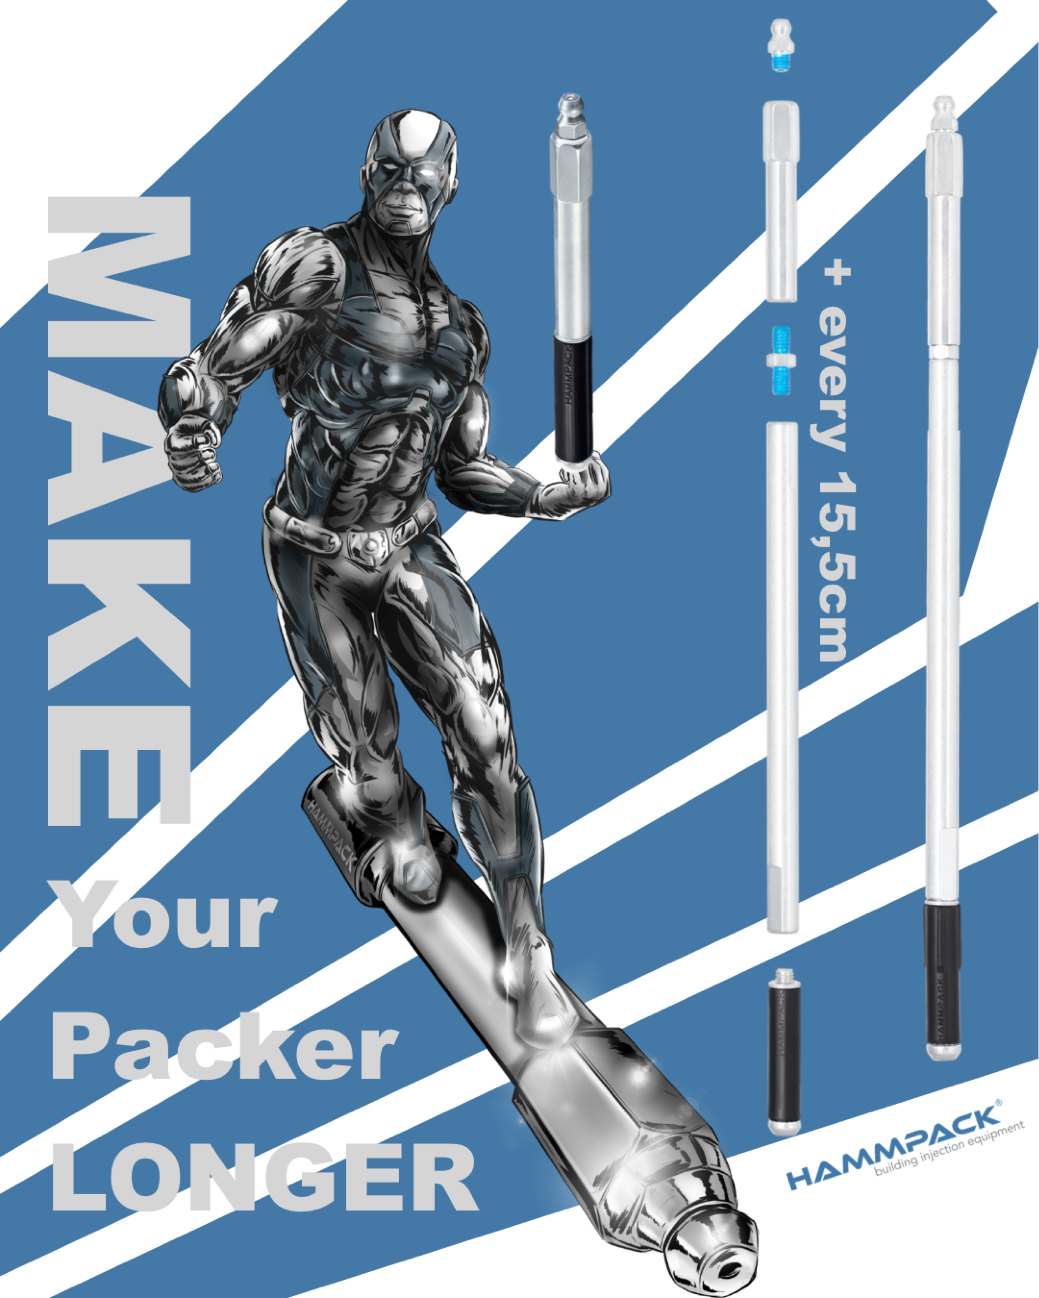
Determine the required reach and position of the expansion zone in the element.
The PI-SCREW threaded nipple joins the system parts. A factory-applied coating seals the threaded connection.
The illustration shows the individual parts and the completed extended packer.
We match outlet geometry to the joint and material. Steel tips connect through a brass GEKA coupling.
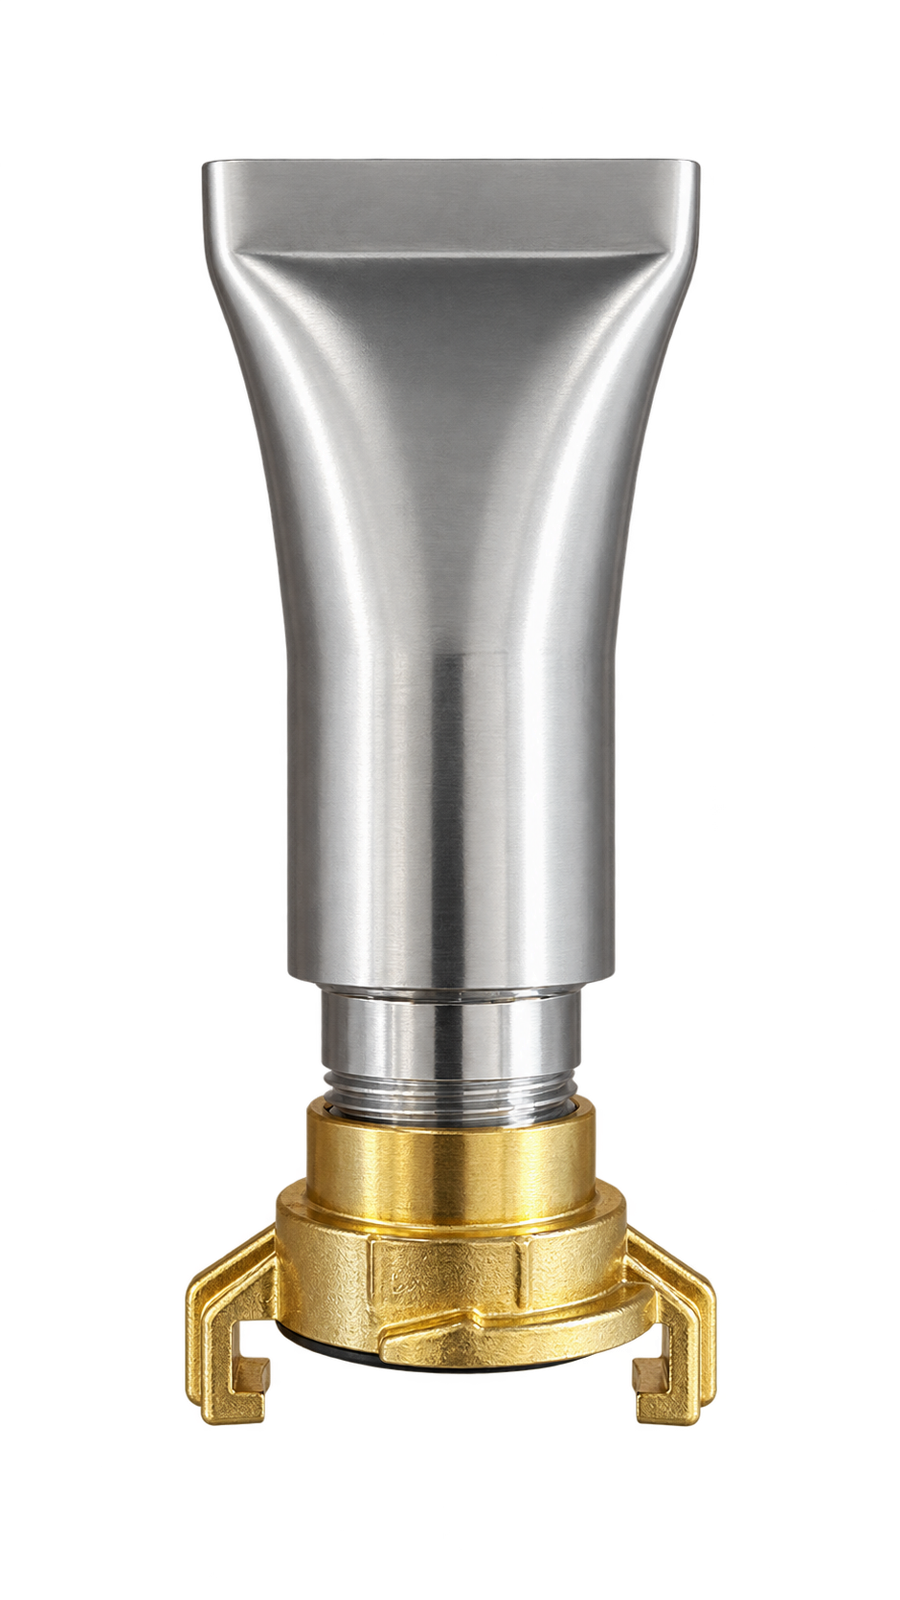
Wide, flattened outlet for placing material in the joint.
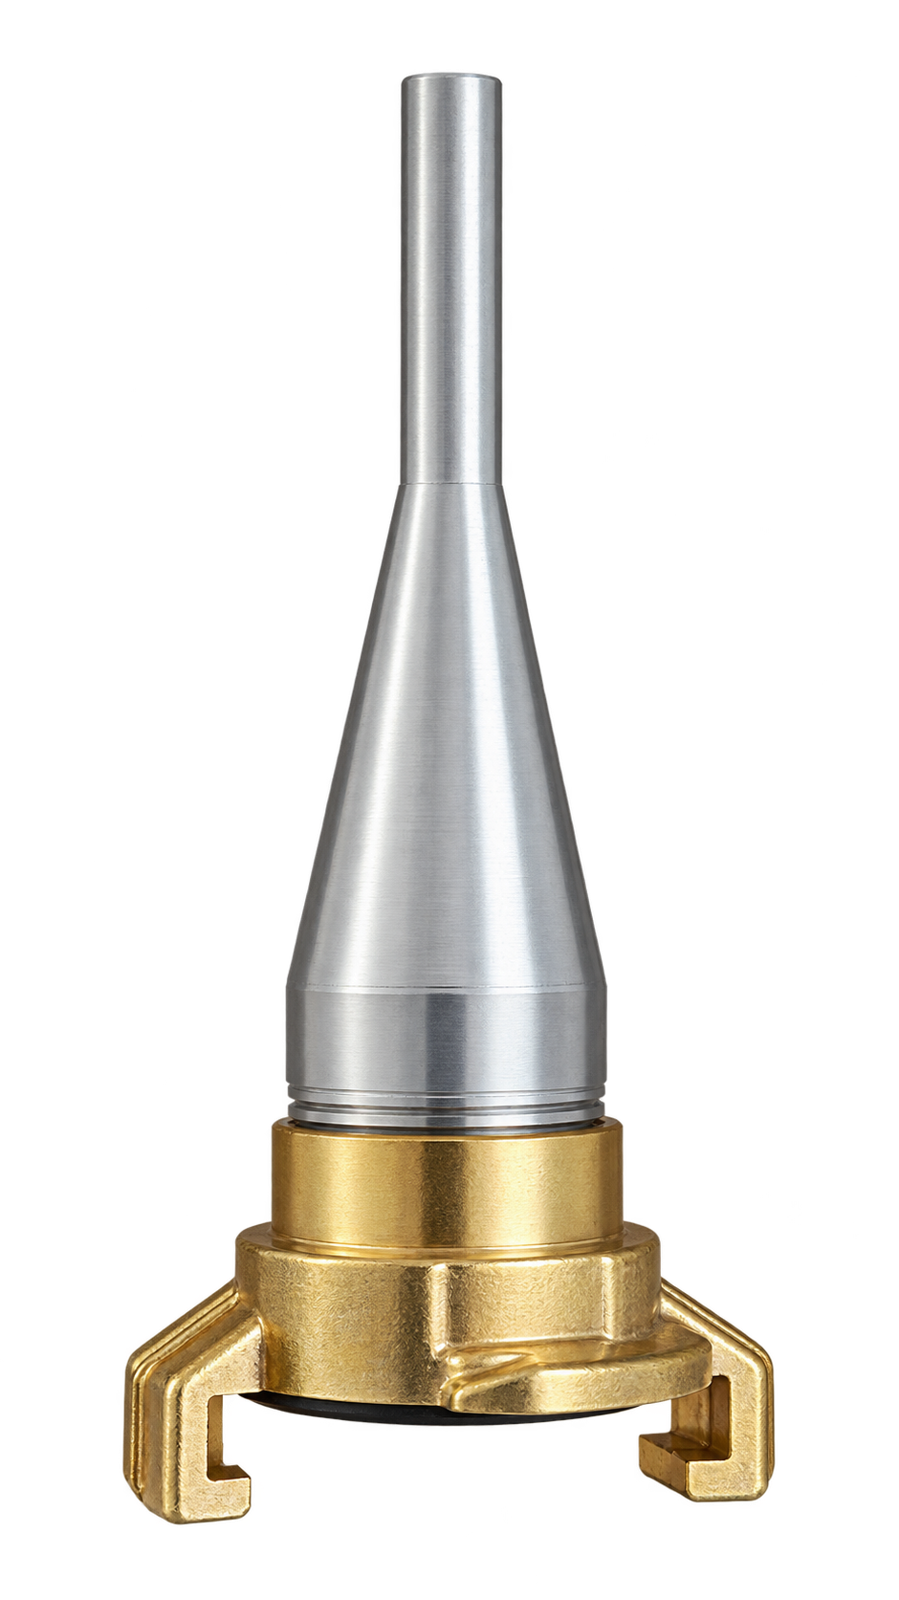
Extended round tip for precise material placement.
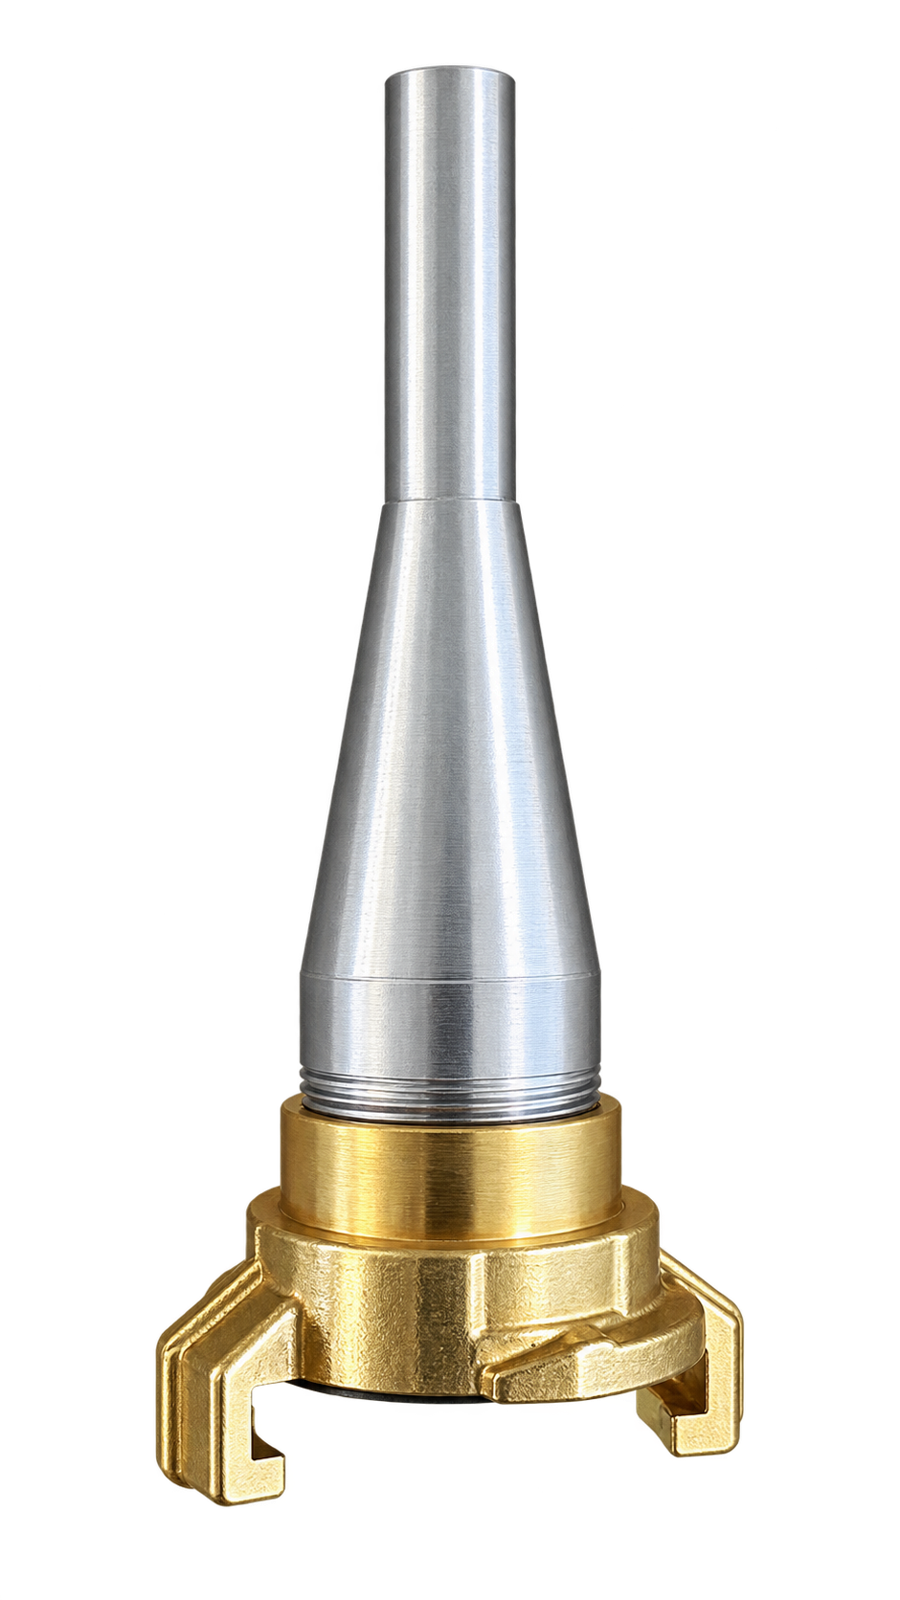
Round outlet with a larger cross-section and the same connection method.
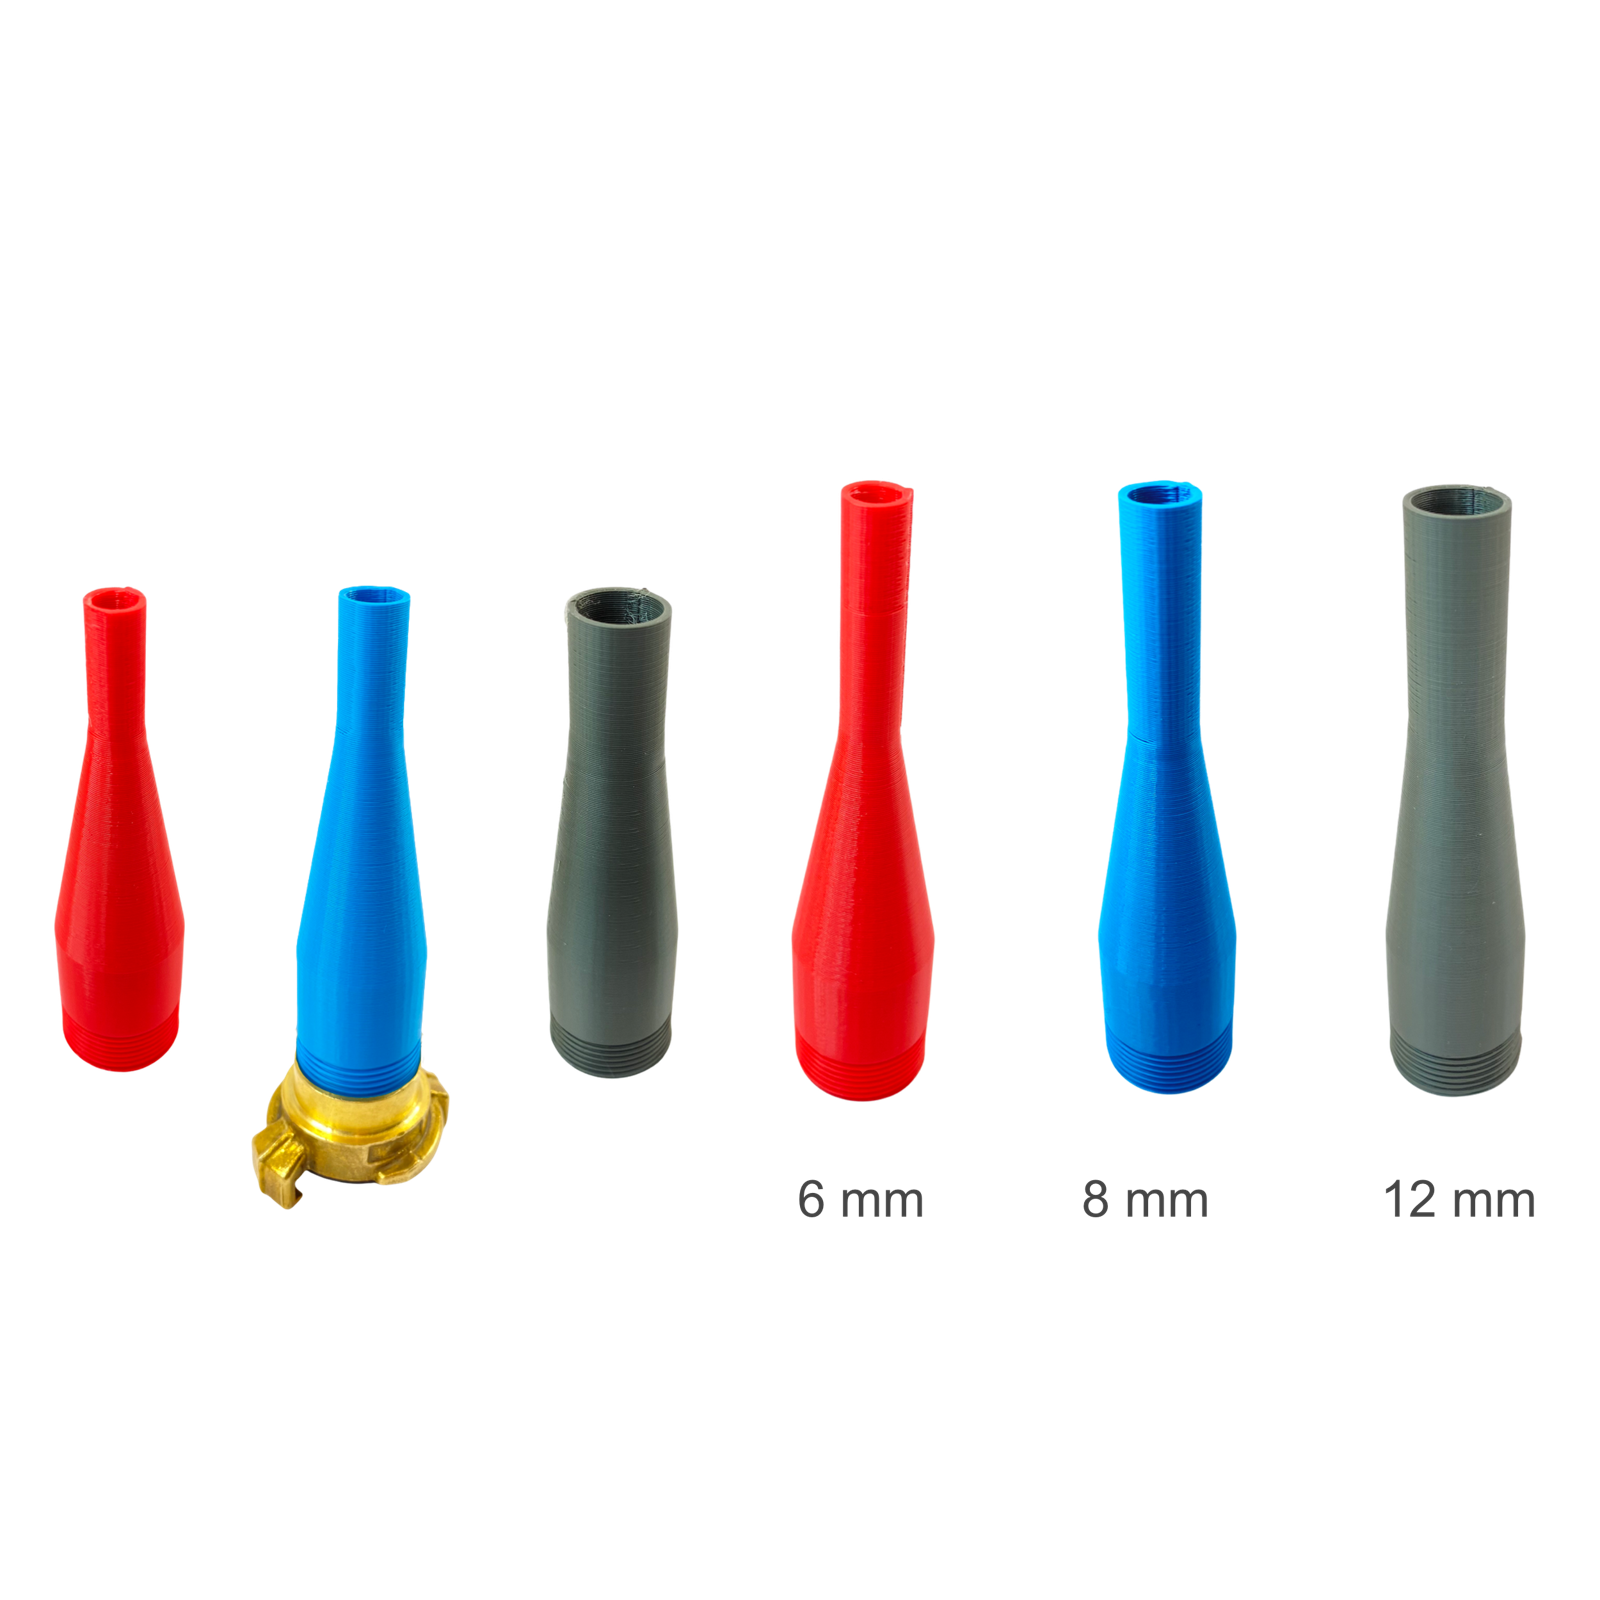
Outlets of 6, 8 and 12 mm, lengths of 22 or 35 mm and a GEKA adapter let you match the accessories to the joint.
The requirement: introduce air beneath a floor during drying. The response: a packer designed around the process and connection method.
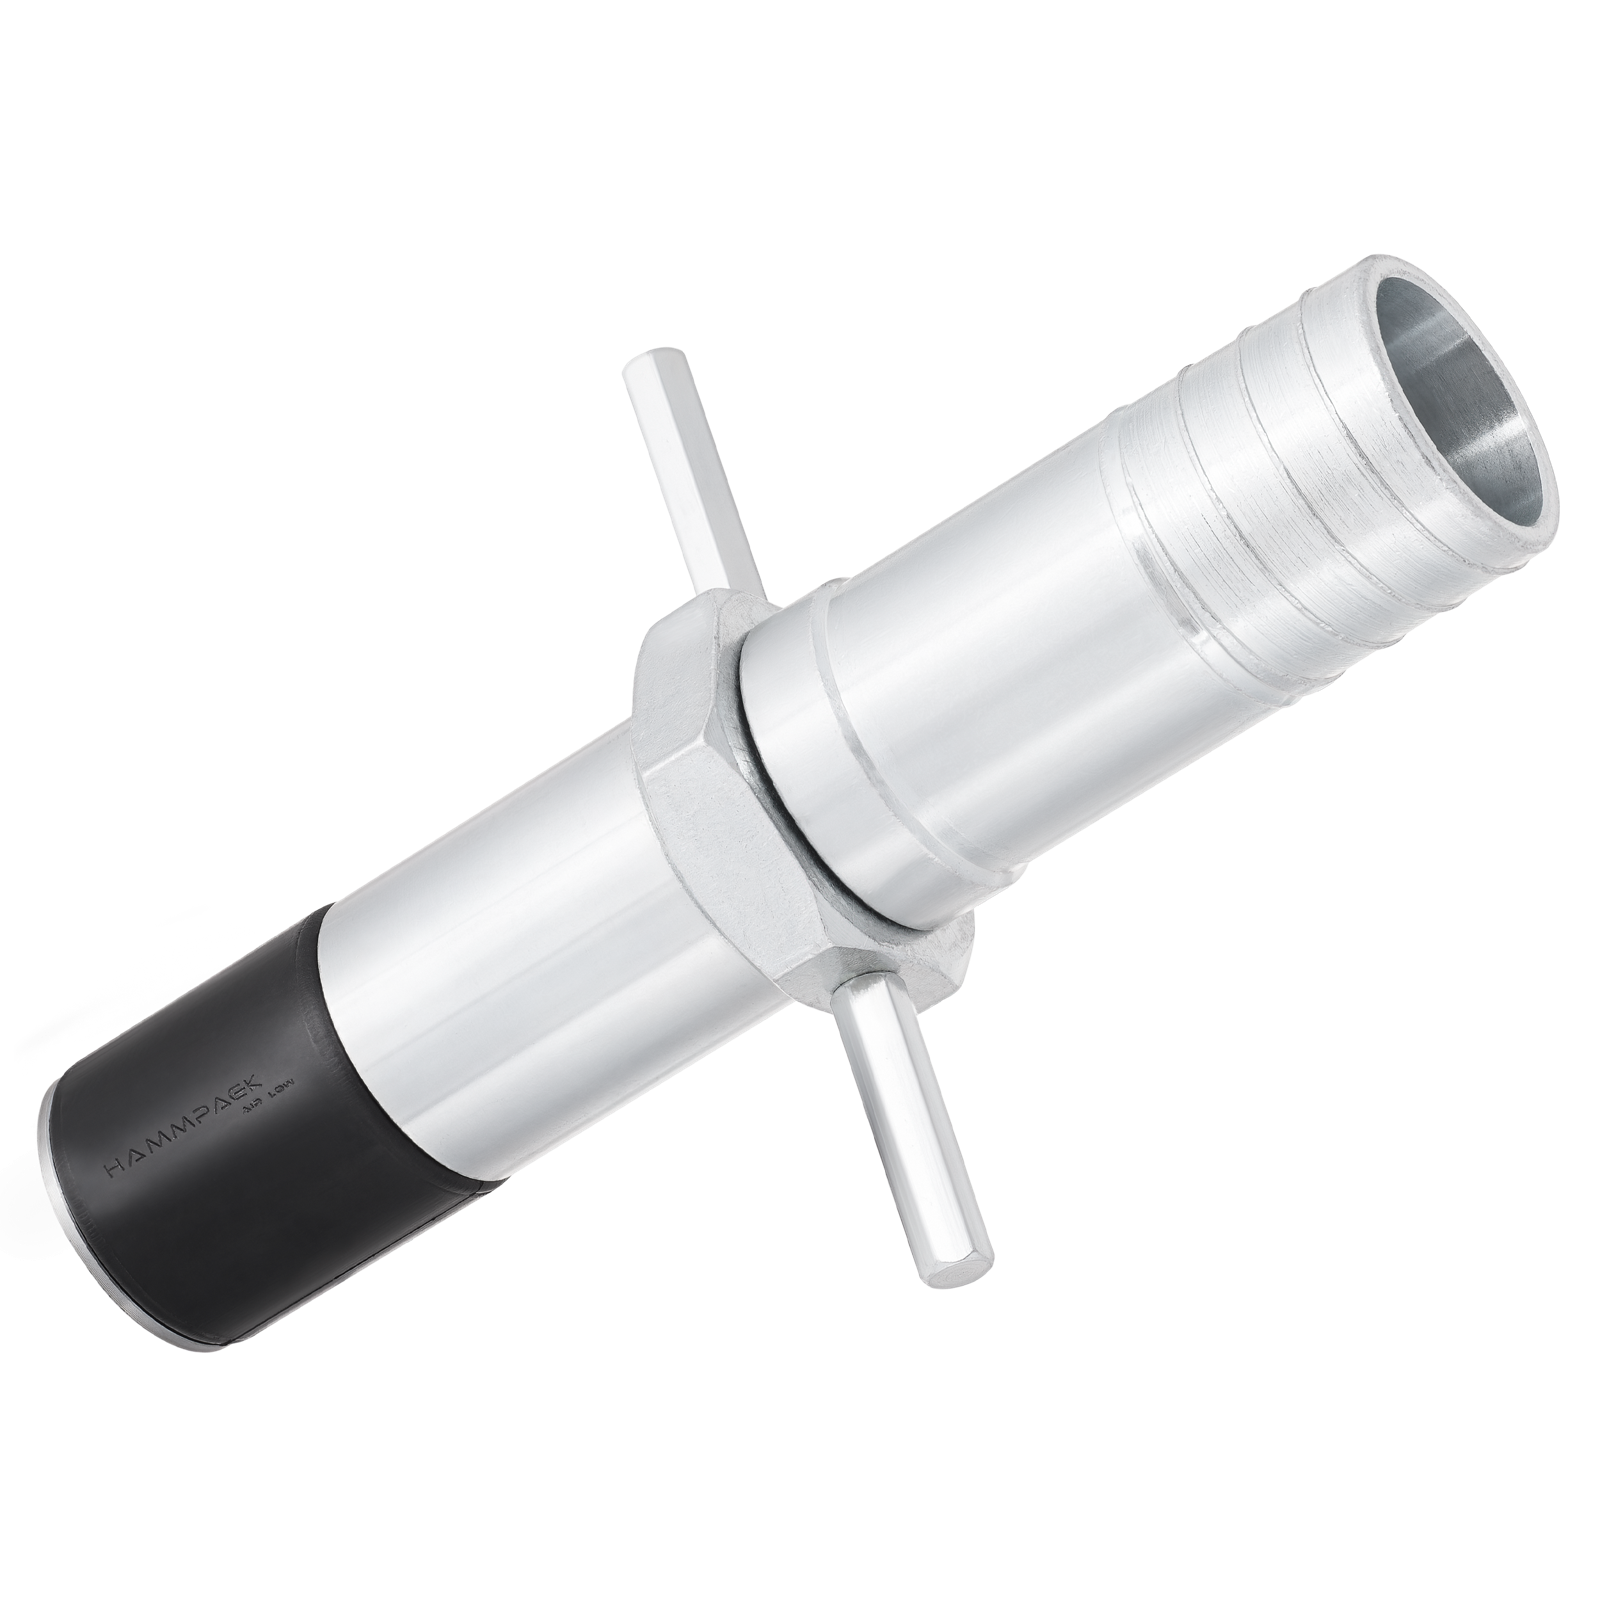
AIRFLOW shows how we start with working conditions: borehole, floor layers, hose and required air delivery method. We use these to select the design and connections.
The same approach produces versions for specific infrastructure projects. Some are prepared individually and are not shown in the catalogue.
Tell us about your application →When injecting a wall-to-slab joint, the borehole must intersect the joint. The gauge helps maintain the chosen angle and repeat it in subsequent boreholes.
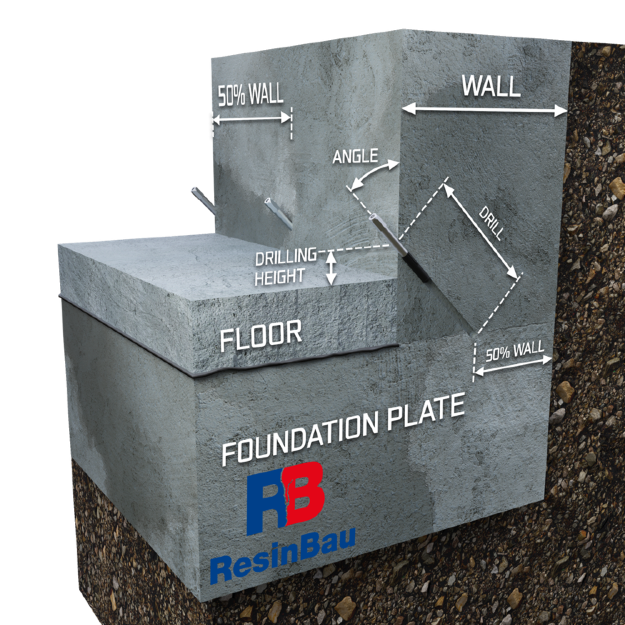
With a thin floor layer, the borehole can start in the wall and intersect the wall-to-slab joint. Match the starting height and angle to wall thickness and joint level.
First determine where the borehole should intersect the joint. Then set the drill angle.
Plastic drive-in packers with a non-return valve. Two models, two connection methods.
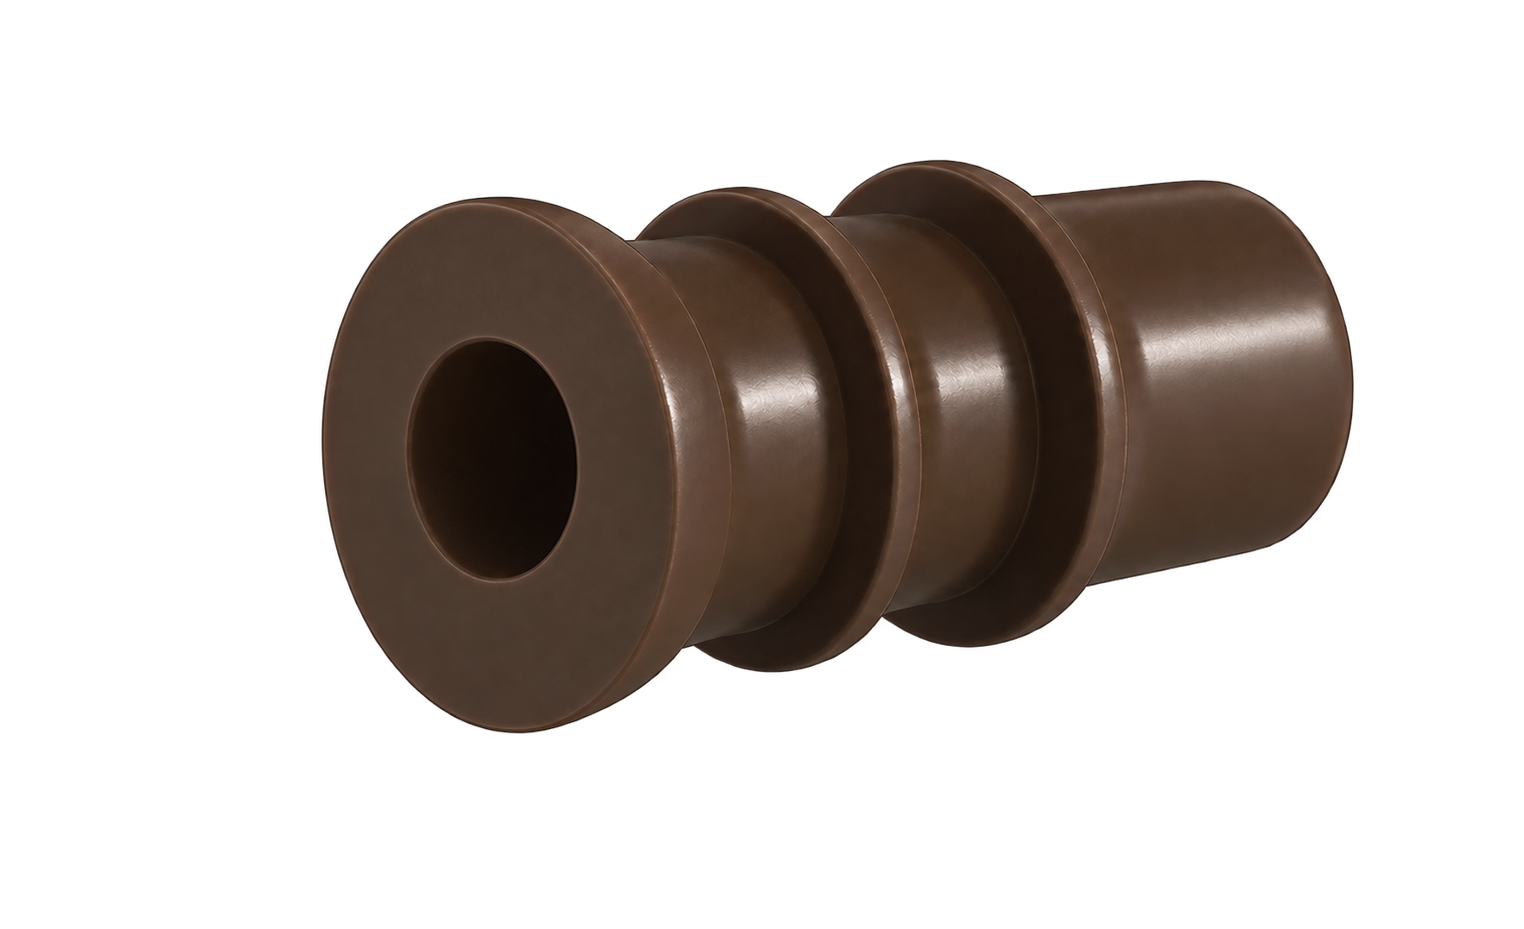
Plastic drive-in packer with a non-return valve for timber injection. It remains in the timber and connects using the dedicated CPW coupler.
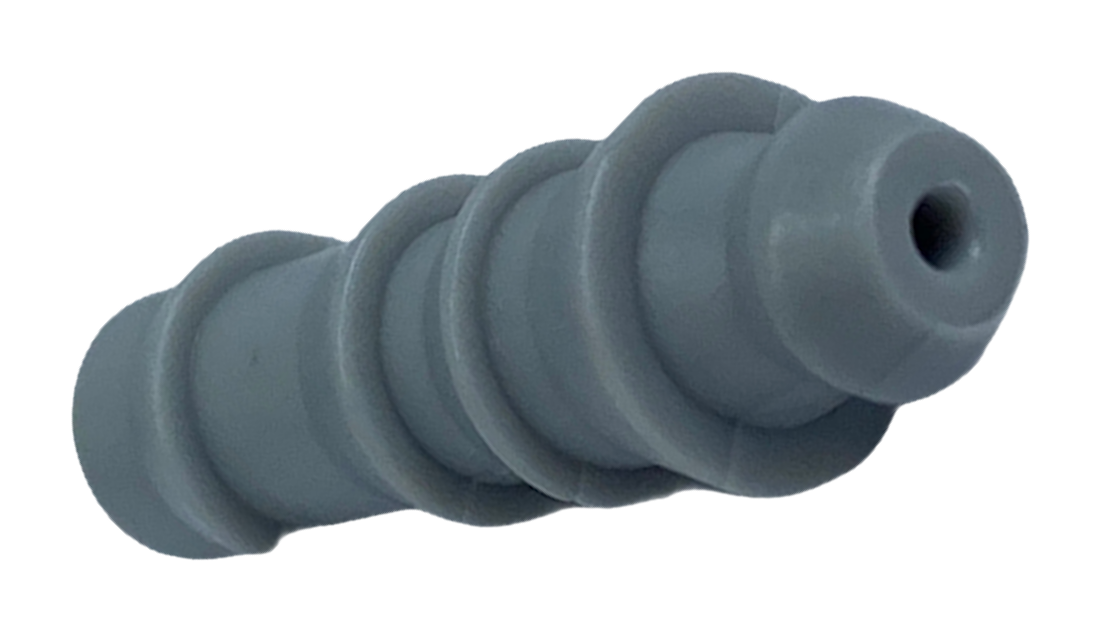
Plastic drive-in packer with a non-return valve, designed for a four-jaw coupler. Recommended coupler: CPX-T.
Explore installation, couplers and timber packer specifications →
Mining packers, tunnel solutions and accessories for individual infrastructure projects. We discuss the task and develop a version that meets its requirements.
Borehole diameter, required length, material, connection method and installation access. A drawing or photograph is helpful.
Geometry, material and connections. We establish which parts remain in the structure and how installation should proceed.
We agree the design, scope of verification and delivery schedule for the specific application.